| Chapter 2. Quick Start Guide | ||
|---|---|---|

|
 |
|
| Chapter 2. Quick Start Guide | ||
|---|---|---|
|
|
|
|
Table of Contents
Our quick start guide shows how to create a project containing test environments, test systems and test cases and a test suite. The test cases contain test steps, and user-defined fields and categories are created. Then a single test case and a test suite with three test cases will be executed and finally the results will be displayed.
The system under test is a printer for which both hardware and software (drivers) should be tested. The driver software is available in different versions and for different operating systems, here Windows and Linux.
In addition, there are two separate development teams: one for the hardware, the other for the software. The hardware team uses as system for defect management, the software team uses .
First the test setup is created. This includes the project, the test environments, the systems under test, test cases and a test suite.
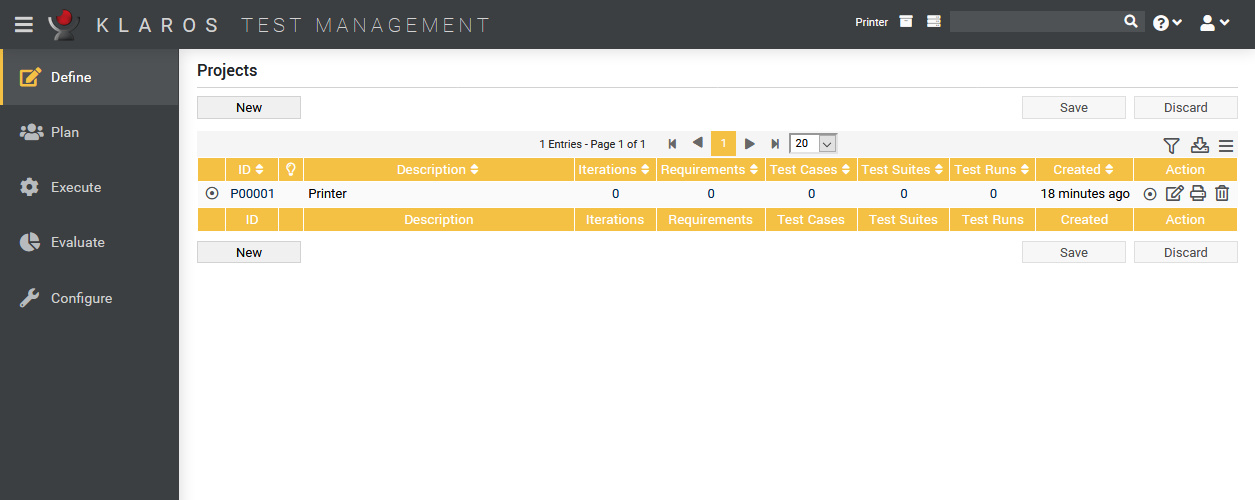
Projects are the top-level objects in . All other objects such as test cases, iterations, requirements, or test suites are part of the project. Therefore, creating the project is always the first step when working with :
Press the button to create a new project.
Enter Printer as the project Description.
Press the button. A unique project ID is assigned automatically.
Activate the new project with the radio button to the left of the project ID or to the right in the action column. Now the other menu items in the side menu bar can also be selected. The new project can now be edited with the icon.
|
|
|
|
| Chapter 1. Introduction |  |
2.2. Creating Systems under Test |