| Chapter 4. Creating custom reports | ||
|---|---|---|

|
 |
|
| Chapter 4. Creating custom reports | ||
|---|---|---|
|
|
|
|
Table of Contents
This tutorial will show how to create reports for Klaros-Testmanagement. Please note that custom reports are only available in Klaros-Testmanagement Enterprise Edition. Basic knowledge in Java programming and XML is required to follow this tutorial. An example of the resulting report can be found here. The complete code can be downloaded here, feel free to modify it to your needs.
To create custom reports, navigate via the Configure entry. and Report Templates in the side menu bar to get to the overview of custom Reports of the Klaros-Testmanagement Enterprise Edition.
There you can create a new report by clicking on the button. You can later evaluate the report via the Evaluate entry in the top menu bar and the Report Templates entry in the side menu bar.
As a first step, this tutorial shows how to set up the development environment. In this tutorial we set Eclipse as the development environment.
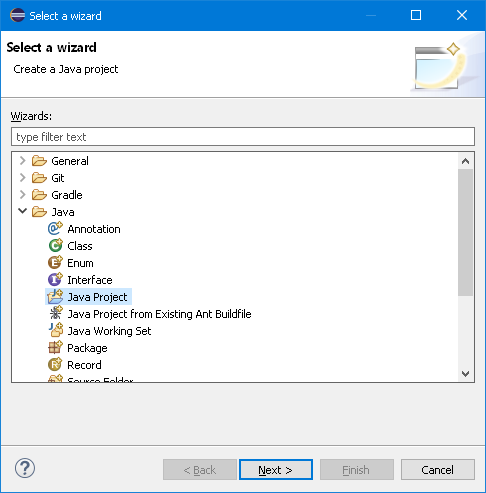
Start Eclipse and select File -> New -> Other....
In the dialog select Java -> Java Project as shown in the picture, then click on Next.
In the next dialog enter a title for your project (e.g. ReportTutorial)
and press Finish.
The Package Explorer in Eclipse should now show your new project.
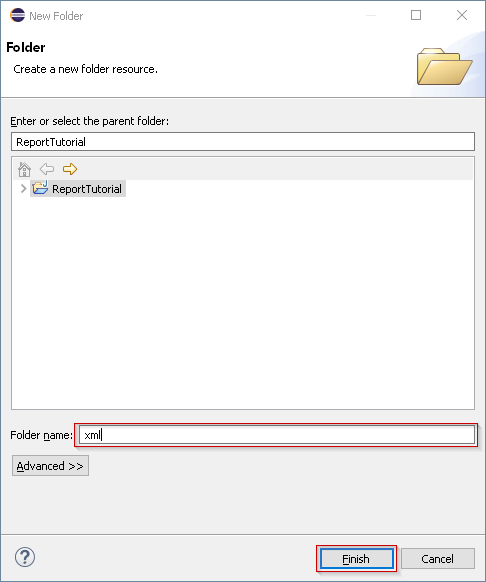
First, create a folder to hold your XML files.
Right-click on your project and select New -> Folder.
In the dialog enter xml
in the Folder name field and click on .
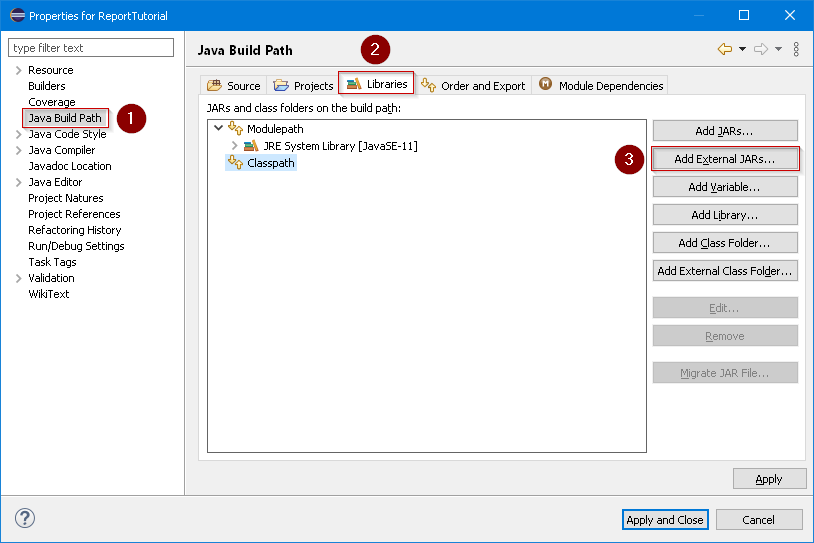
Add the required libraries to your build path. Right-click on our project and select Properties. In the dialog click on Java Build Path(1), select the Libraries(2) tab and then click on Add External JARs...(3).
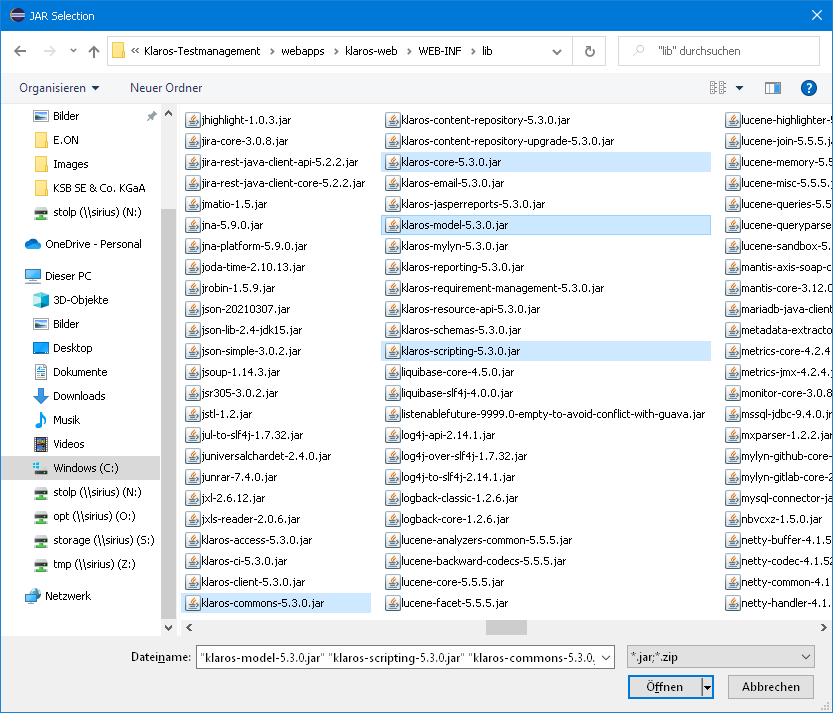
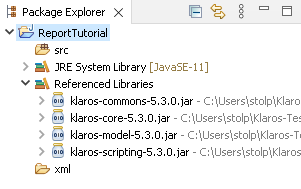
In the following dialog navigate to your Klaros-Testmanagement installation folder. From there navigate to the webapps/klaros-web/WEB-INF/lib folder and select the klaros-commons-x.y.z.jar, klaros-core-x.y.z, klaros-model-x.y.z.jar and klaros-scripting-x.y.z.jar files, then click the button.
Finally click on the button in the Build Path dialog. You now have an additional entry in your project named Referenced Libraries.
|
|
|
|
| 3.9. Iterations |  |
4.2. Preparing the Data for the Report |