| 3.3. User Defined Properties | ||
|---|---|---|

|
Chapter 3. How-Tos |  |
| 3.3. User Defined Properties | ||
|---|---|---|
|
|
Chapter 3. How-Tos | |
![]() Feature only available in Klaros-Testmanagement Enterprise Edition
Feature only available in Klaros-Testmanagement Enterprise Edition
![[Important]](images/important.png) |
Important |
|---|---|
|
In order to use the examples in this guide it is recommended that you complete Section 2.1.1, “ Creating a Project ” of the quick-start guide. |
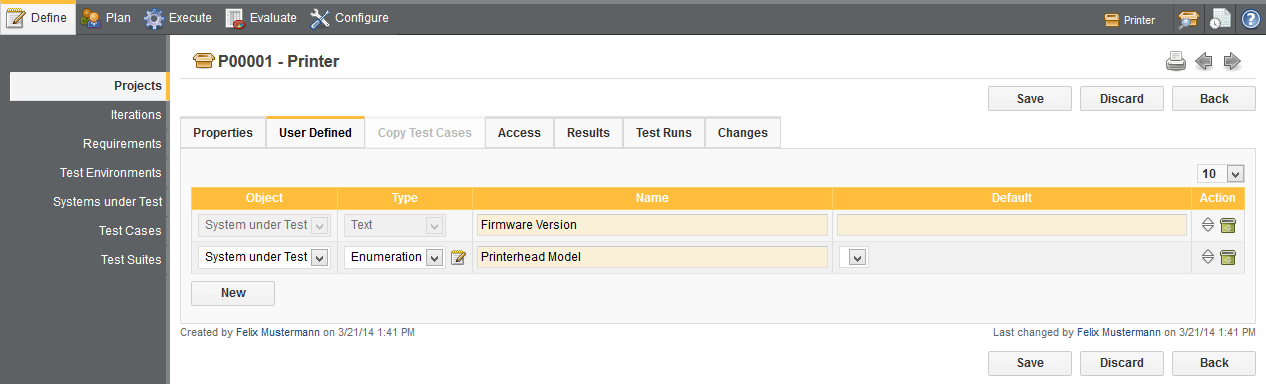
User defined properties are customizable fields which can be added to the various artifacts of a project e.g. to make it easier to find specific elements or to reference external systems or documents. In this how-to, we will set up some user defined properties for our systems under test (or SUTs).
Since the SUTs in our example are printers, there are a number of properties that will make searching through them easier. One of these is the firmware version, an alpha-numeric value which is changed relatively often.
Login to Klaros-Testmanagement using the Manager account.
Select the Printer project.
Press the
![]() icon.
icon.
Select the User Defined tab.
Click the button.
Select System Under Test in the Object column.
Select Text in the Type column.
Enter Firmware Version in the Name text field.
A second property we can use to search through our SUTs is the model of printerhead used in the printer. Since our company has only two different printerhead models, it makes sense to make this an enumeration property.
Click the button.
Select System Under Test in the Object column.
Select Enumeration in the Type column.
Enter Printerhead Model in the Name text field.
Press the
![]() icon in the Type column to add enumeration values.
icon in the Type column to add enumeration values.
Enter Model 1 in the Entry text field and press the
![]() icon.
icon.
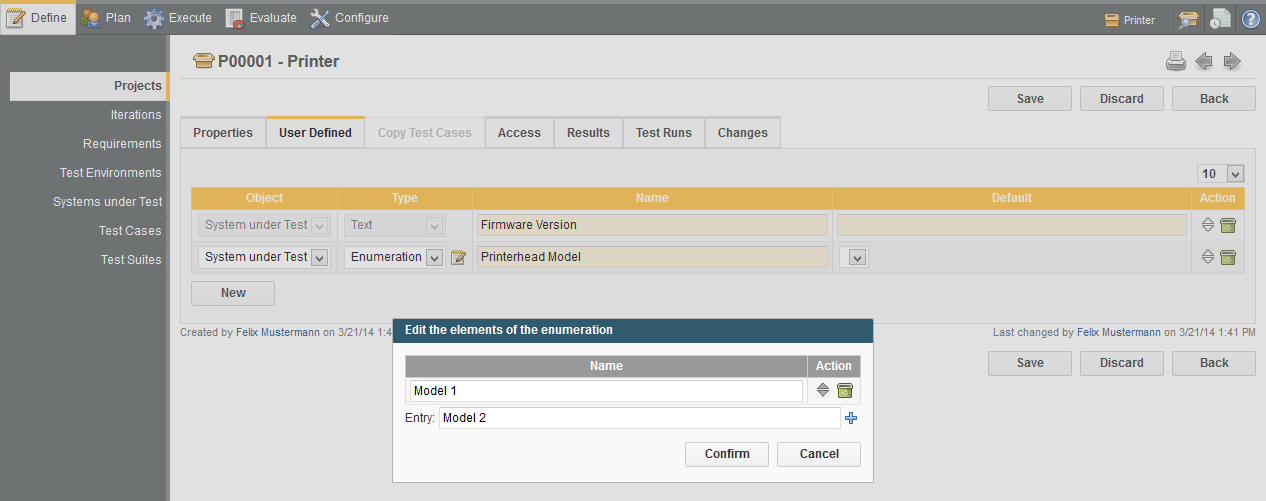
Enter Model 2 in the Entry
field and press the
![]() icon.
icon.
Press the button.
Press the button.
|
|
 |
|
| 3.2. Categorization |  |
3.4. Pausing and Resuming Test Runs |