| Chapter 3. How-Tos | ||
|---|---|---|

|
 |
|
| Chapter 3. How-Tos | ||
|---|---|---|
|
|
|
|
Table of Contents
This section of the tutorial consists of how-to guides for certain actions in Klaros-Testmanagement. We will continue to use the printer example project from the quick start guide.
It is recommended to complete the quick-start guide first if you wish to follow these guides step-by-step.
In this section we will learn how project access works and how to limit the access to our example project to specific users.
The default installation of Klaros-Testmanagement
contains the three users
admin, manager and tester
(see the Klaros-Testmanagement documentation
here
and
here
for more information about user roles). If you create a new project (see
Section 2.1.1, “Creating a Project”)
all users of Klaros-Testmanagement will have access to this project. To limit the access to this project to a single
users or
several specific users, you can use project specific roles, which are part of Klaros-Testmanagement Enterprise Edition.
![]() Feature only available in Klaros-Testmanagement Enterprise Edition
Feature only available in Klaros-Testmanagement Enterprise Edition
In this section we will limit access to the Printer project. See here for more information about project specific roles.
![[Tip]](images/tip.png) |
Assigning project specific roles |
|---|---|
|
Project specific roles do not need to match the role of the user. For example, a user with the role test manager can be a tester in one project and a test manager in another project. |
Login to Klaros-Testmanagement using the Manager account.
Select the section in the sidebar.
Select the project P00001, or the “Printer Test” project if you already created other projects.
Select the Access tab.
Click on the button.
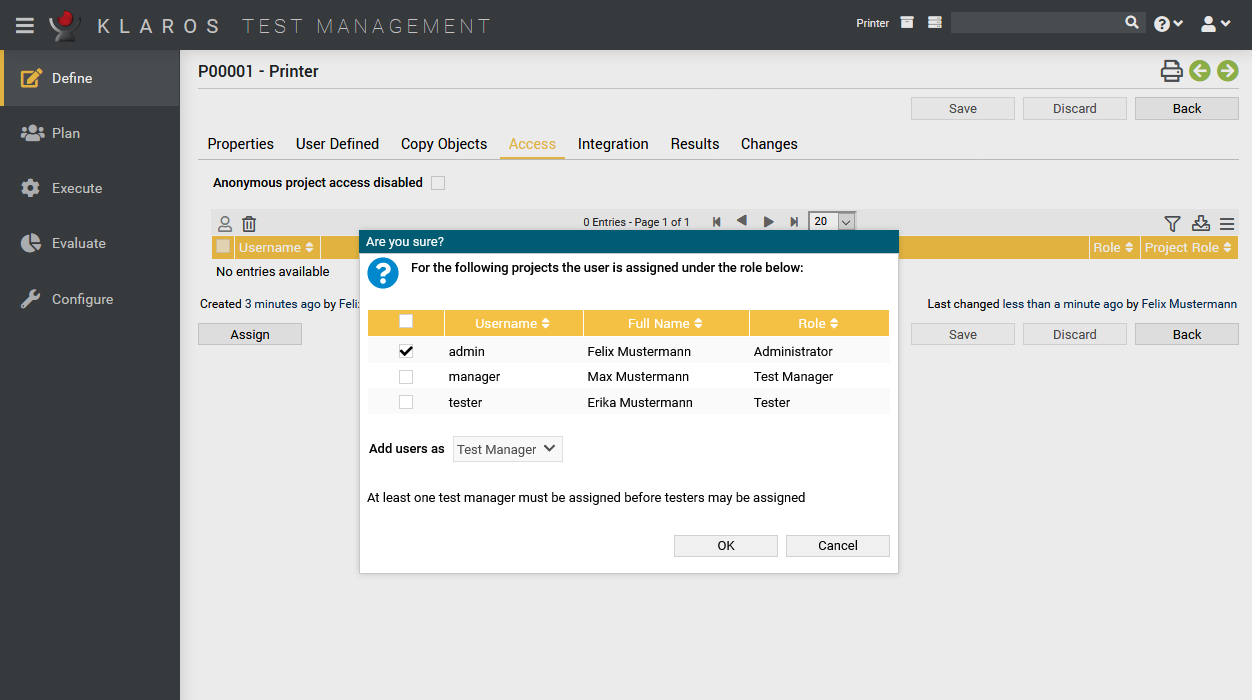
In the following dialog select the checkbox in front of Max Mustermann and select Test Manager from the Project Role dropdown list (if not already selected)
Confirm the changes by clicking on the button.
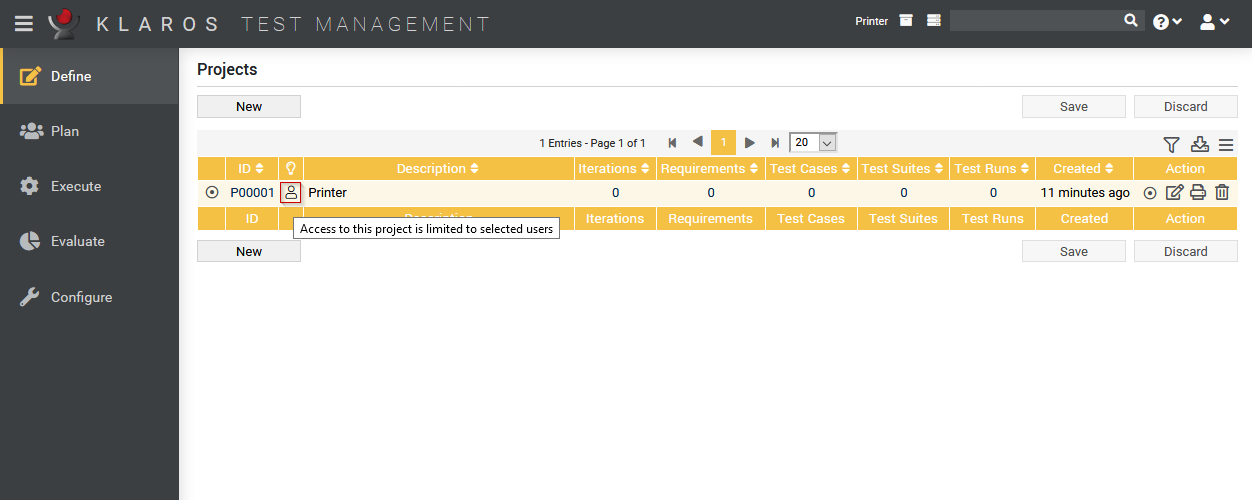
The only user allowed to view the Printer project now is the user named manager. Administrators can still view the project, since they are excluded from project access rules. On the projects page, you can see which projects have access rules defined by the icon in the Additional information column.
Login to Klaros-Testmanagement using the Manager account.
Select the section in the sidebar.
Select the project “Printer Test”.
Select the Access tab.
First we need to make sure, that at least one manager is assigned to the project. Select checkbox in the row containing Max Mustermann.
Click the button. Max Mustermann is now the only user with access to this project.
![[Important]](images/important.png) |
Important |
|---|---|
|
If you use project specific roles, you need to assign at least one test manager per project. |
|
|
|
|
| 2.7. Results and Reports |  |
3.2. Categorization |